
 |
| I wish I could take a picture of my copy of the book, but alas I bought it on my kindle. |
 |
| here are some pictures with my kindle in the background. |

As I mentioned previously, I am reading and baking my way through Preston Yancey's Out of the House of Bread.
My first attempt was a disaster. First, I think my lack of sleep lately resulted in incredibly low reading comprehension. Also, I was unfamiliar with several of his techniques, including the autolyse, short refrigeration period, three-stage baking process, and use of a couche. Also, somehow I forgot to add salt.
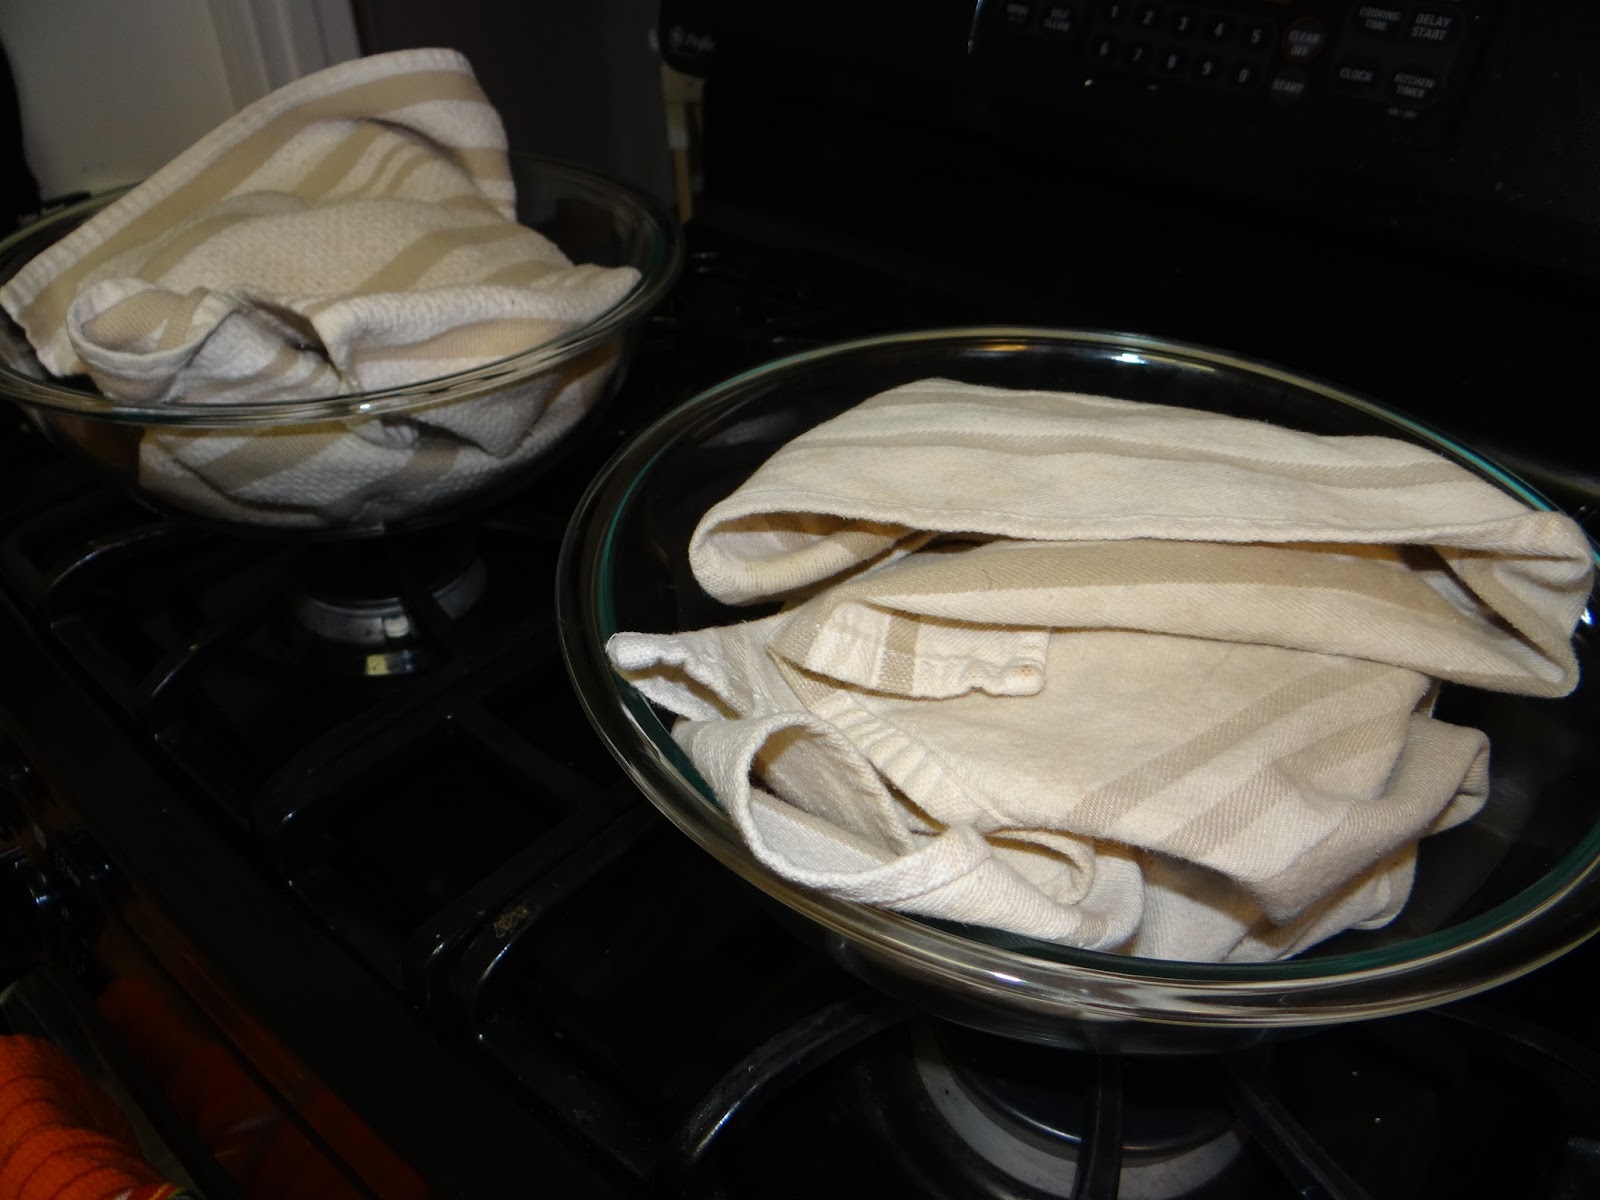
To make matters worse, I realized halfway through that my oven was being tied up for the next five hours by Mr. Bread Maiden's sauerkraut, resulting in my having to cart two bowls of dough to my mother-in-law's house to bake them.
 |
| note the abrupt change in the color of the counter halfway through |

This ended up working in my favor, however, because 1) My MIL has razor blades which resulted in the most beautiful scoring pattern ever, and 2) she was there to document a process I don't think I've ever captured in pictures before- scoring and putting the bread in the oven. It happens so quickly, and since I'm usually alone when I bake I can't stop and take pictures.
 |
| tipping the dough out of the couche into the dutch oven |
 |
| scoring the dough inside the dutch oven - I kinda like my scoring on parchment then moving parchment to the dutch oven process better - less risk of burns and dropping a razor blade into the dutch oven :) |

As I always say, you need to attempt a recipe at last three times before judging it. Preston's book has you bake the same bread NINE times! If I haven't perfected it by then, I'm really doing something wrong.
 |
| despite my mistakes, they still turned out beautiful. Not bad for a first attempt! |
In my defense with the boiling water autolyse thing during attempt #1... the previous night I had read my MIL's Cook's Illustrated with an article about a Japanese technique called Tangzhong, which employs a paste made from flour and hot water. The hot water triggers starch gelatinization instead of gluten formation, resulting in a very soft crumb. The idea must've stuck in my brain, so when I read the instruction to use "warm, NOT hot water," my brain thought "oh, it's like that Japanese technique. I'll add hot water."
Ok, onto attempt #2. For the recipe, see my first post.

This time I knew that eight cups of flour + three cups of water + nearly a tablespoon of yeast makes a huge bulk fermentation.

My yeast, sugar and honey mixture. This time I just drizzled some honey and called it good. That's the benefit of making the same recipe over again - you come to learn what is essential to measure correctly, and what you can safely eyeball.
 |
| Before autolyse |
 |
| After autolyse before adding yeast mixture. |
 |
| after adding yeast mixture, oil and salt. |

After refrigerating for 1.5 hours.


Preparing my couche. Sprinkle a little flour on a cotton (not terrycloth) tea or kitchen towel.

Now, use your hand to grind the flour into the towel until it's dry and smooth against your hand. Place your floured towel in a medium-sized mixing bowl. You have made a couche.

Remove your dough from the bowl and divide into two equal pieces.

Shape each piece into a boule, tucking the sides underneath and pinching them together to form a seam on the bottom.

Here's the top, with the seam hiding on the bottom.

Place your dough seam side UP in your couche, then cover and let rest for another 1.5 hours.
Once the oven is preheated, gently turn out your dough from the couche into the dutch oven so that the seam is now on the bottom. Bake per Preston Yancey's instructions.

Once again, I was totally blown away by how beautiful the loaves were that came out of the oven.


Since I followed all the instructions this time around, I have to chalk it up to the quick fermentation time. Still- all that yeast should result in very dramatic holes. It's possible that the short refrigeration time stiffened the gluten too much, so the carbon dioxide bubbles couldn't expand and create holes. I don't know.

But I have at least seven more chances to troubleshoot and find out how I can tweak things to get the bread I want. Perhaps less yeast and an overnight fermentation? We'll see.
No comments:
Post a Comment